
Start With the Garment and the Purpose
The first step is not the print size, it is the garment and how it will be worn. A staff tee for deliveries in Durban Central needs clear branding that can be seen quickly, while a school event shirt may need a bigger front print for photos and crowd visibility. Caps, hoodies, golf shirts and workwear all handle artwork differently, so the same logo can not always sit in the same place.
We check the garment shape, seam lines, pocket position and fabric type before recommending a print area. Cotton tees usually take chest and full front prints well, while some blends need extra care for heat and press settings. For coastal wear in Durban and Amanzimtoti, it also helps to think about wash frequency, salt air and how often the item will be used outdoors.
- Choose the garment first, then the print position
- Think about who will wear it and where it will be seen
- Allow for seams, buttons, pockets and zips
- Check if the item needs one side or both sides printed
Chest Prints for a Clean Everyday Look
Chest prints are one of the most common choices for schools, clubs and businesses across KZN. They sit neatly on the left or right chest and suit polos, tees, aprons and some jackets. This position works well when you want a tidy uniform look without covering the whole front of the garment.
For logos, names, department titles and small event marks, the chest area gives enough space without overpowering the clothing. It is also a good option for outdoor staff and retail teams because the print stays readable when someone is facing you at talking distance. If the logo has fine text, we check that it will still hold up at a smaller size and not blur on press.
- Best for logos, names and small emblems
- Common on polos, tees and light jackets
- Works well for uniforms and corporate wear
- Needs accurate placement so both sides match on multi-garment runs
Full Front Prints for Maximum Visibility
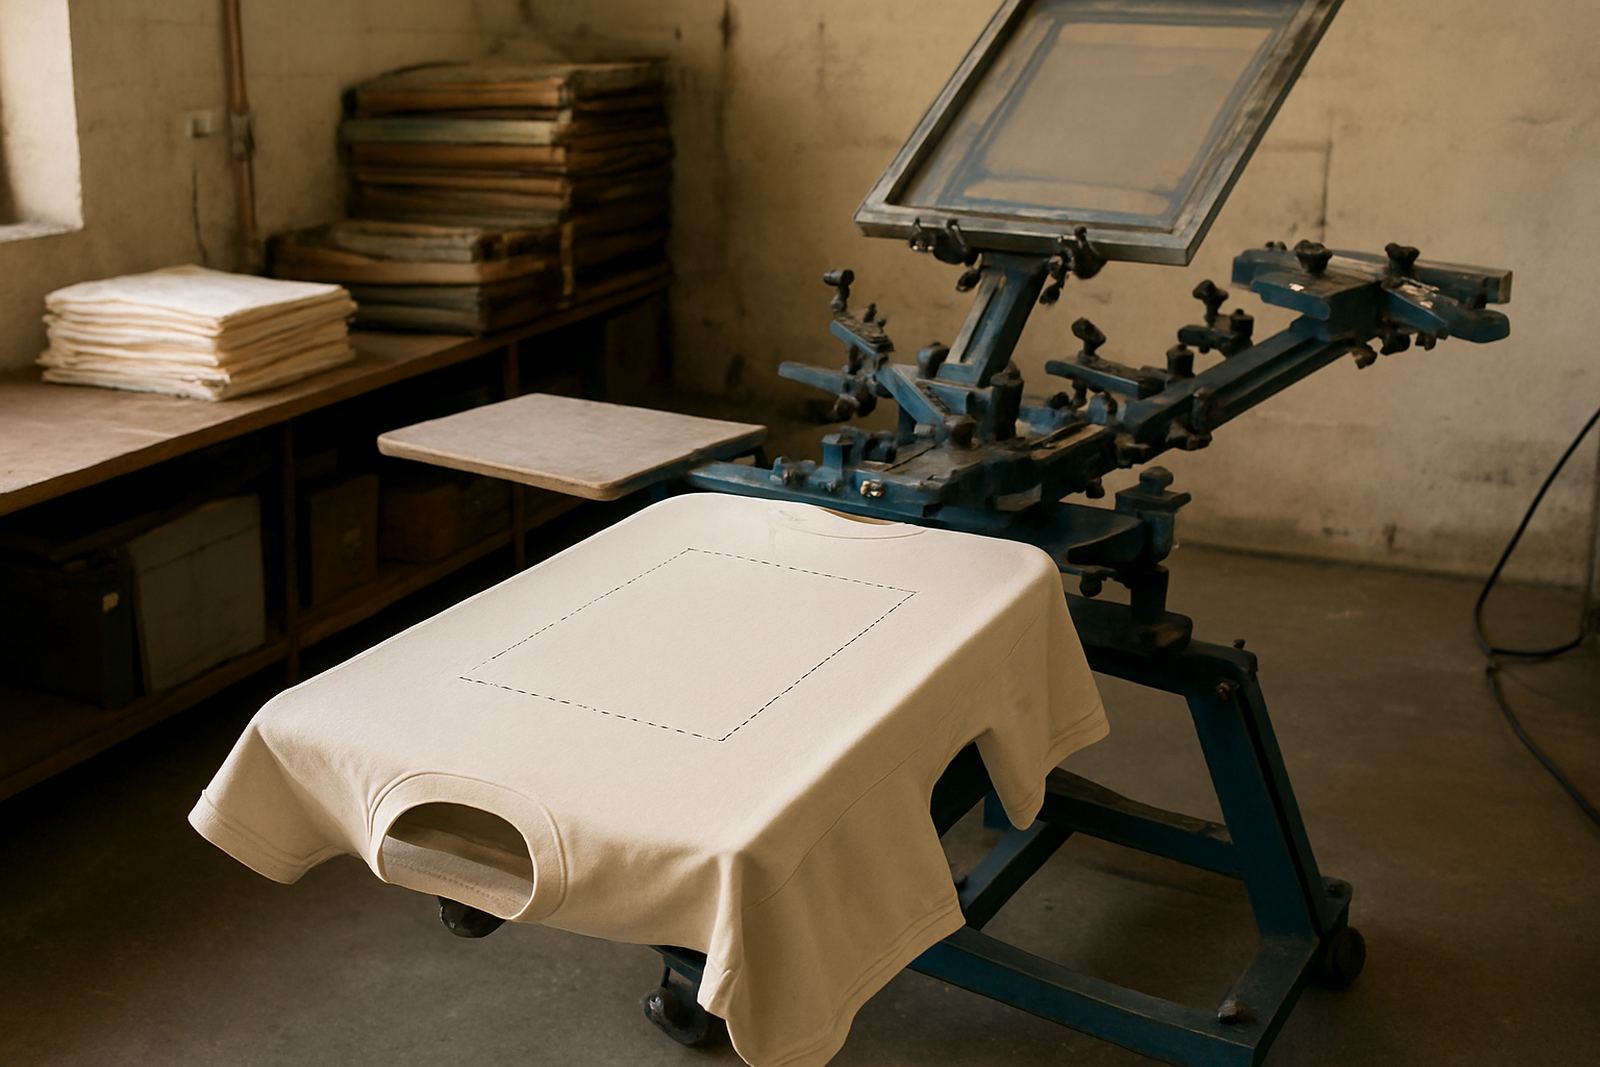
A full front print gives the most space for artwork, sponsor logos or campaign graphics. This is often the right choice for school fun days, club events, promotions and merch where the design must be seen from a distance. On larger garments, the print can sit high, mid or lower on the chest depending on the artwork and the wearer size.
We always check the file against the actual print area before making screens or setting up digital output. A design that looks good on a computer can sit too low or too close to the collar once it is on a shirt. For orders going to Pinetown, Westville or Pietermaritzburg, we make sure the placement stays consistent across the full run so the shirts look like one set, not mixed batches.
If the job needs both size ranges and different garment cuts, we can adjust the print position slightly to suit the fit. That matters on ladies cuts, kids wear and heavier workwear where the front panel shape changes a bit.
Back Prints for Team Names, Sponsors and Event Details
Back prints are ideal when you need more room for names, numbers, sponsor blocks or a message that must be seen from behind. They are common for sports kits, school activities, security wear and promotional shirts used at events. If people move through crowds or stand in queues, the back often gives better visibility than the chest.
We look at the size of the artwork, the height of the collar and whether the garment has a hood or panel seam before setting the back position. On hoodies and jackets, the upper back can be limited by the hood or stitch lines, so the print may need to sit lower than on a standard tee. That kind of adjustment helps avoid print clashes and keeps the layout balanced.
- Useful for names, numbers and sponsor blocks
- Good for sports, security and event teams
- Check hood placement and seam lines first
- Leave enough space above the hem for comfort and wear
Sleeve Prints for Small Branding and Extra Detail
Sleeve prints are a smart option when you want extra branding without making the front too busy. They work well for websites, school names, event dates or a small logo placed along the upper arm. On long sleeve garments, the sleeve can carry a line of text or a secondary mark that supports the main front design.
This position needs careful measuring because arm movement changes how the print sits once the garment is worn. A sleeve print that looks centred on the table can shift if the cuff, seam or fold is not checked first. For workwear and club items that are washed often, we also consider how much rubbing the print will face at the arm area, especially in hot weather and during transport.
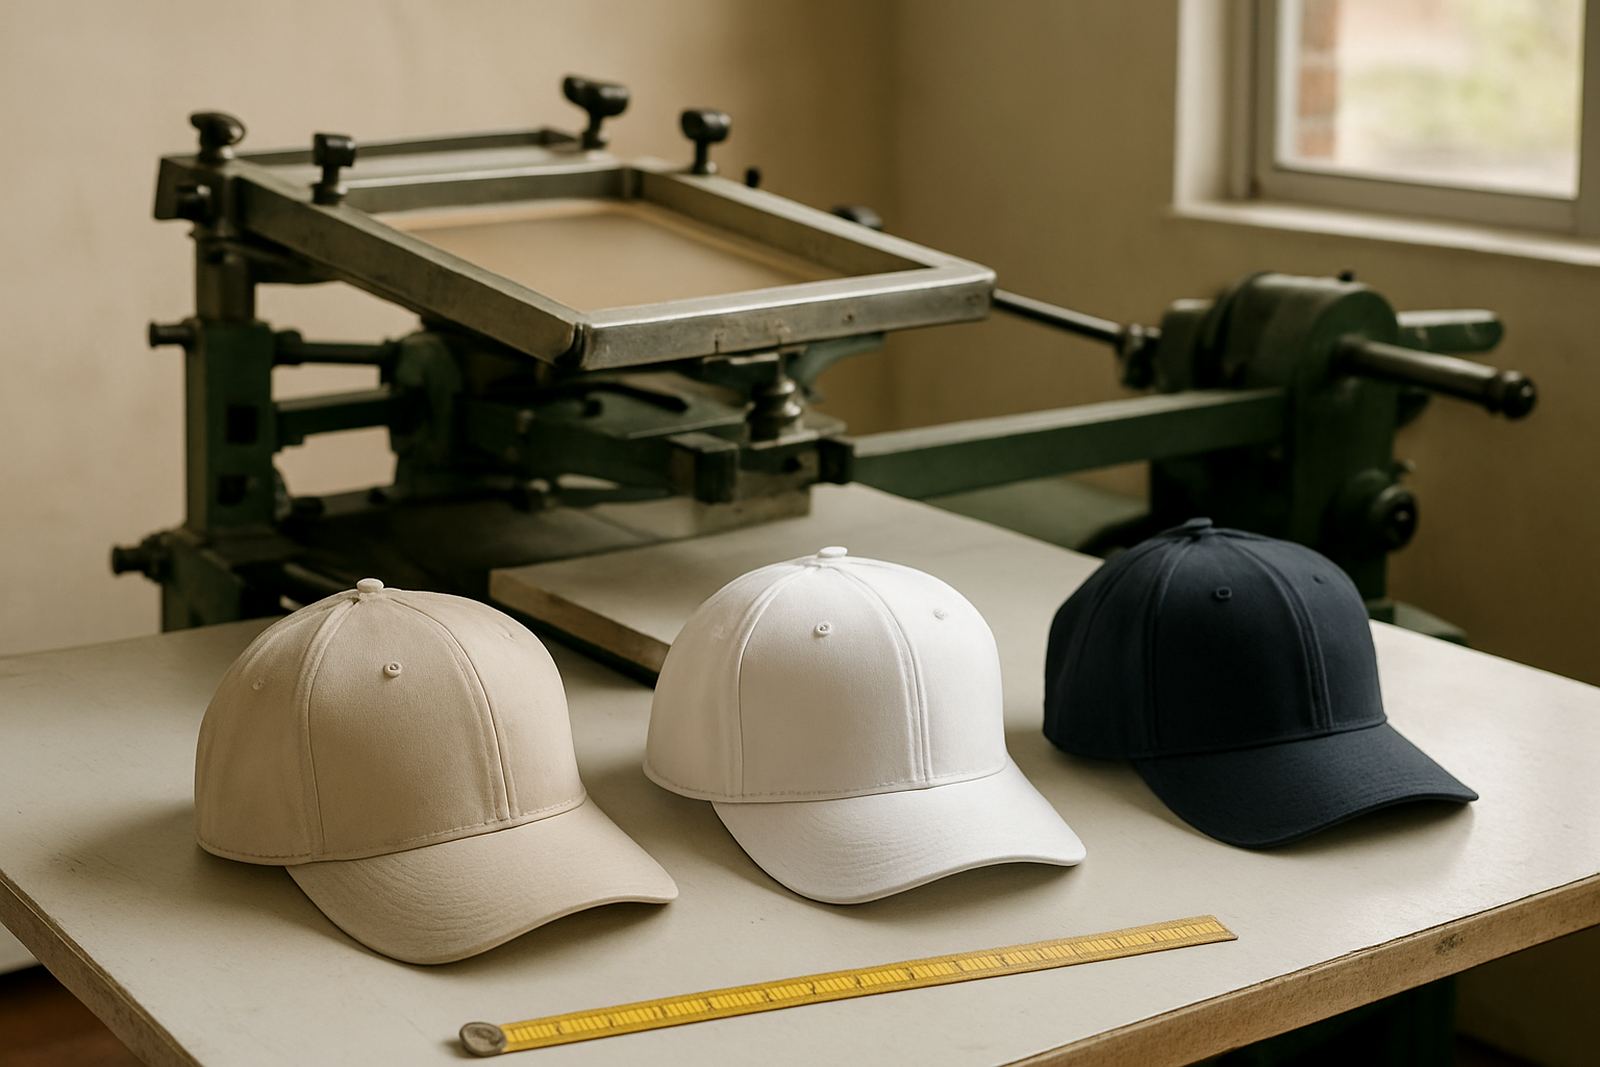
For caps, the same idea applies in a different way. The front panel, side panel and back strap each offer different space, so the artwork must suit the shape and stitching. Small details can make a big difference to the final look, and a print that is too large can lose clarity fast.
Artwork Checks Before We Make Screens or Film
Before production starts, we check the artwork so the chosen print position works properly on the actual item. That can include vector redrawing, colour separation, film output and test printing. If the file is low quality or the text is too small for the selected position, we flag it early so the job can be corrected before anything is made.
For screen jobs, the position decision affects screen size, frame setup and registration. For digital work, it affects scaling and placement on the garment bed. In both cases, getting the position right saves time and reduces waste, which matters when you are printing school orders, club kits or business uniforms on a deadline.
- Confirm the artwork size against the garment size
- Check text legibility at the chosen print area
- Approve placement before full production starts
- Keep a sample approved for repeat orders later
Use This Quick Placement Checklist Before You Order
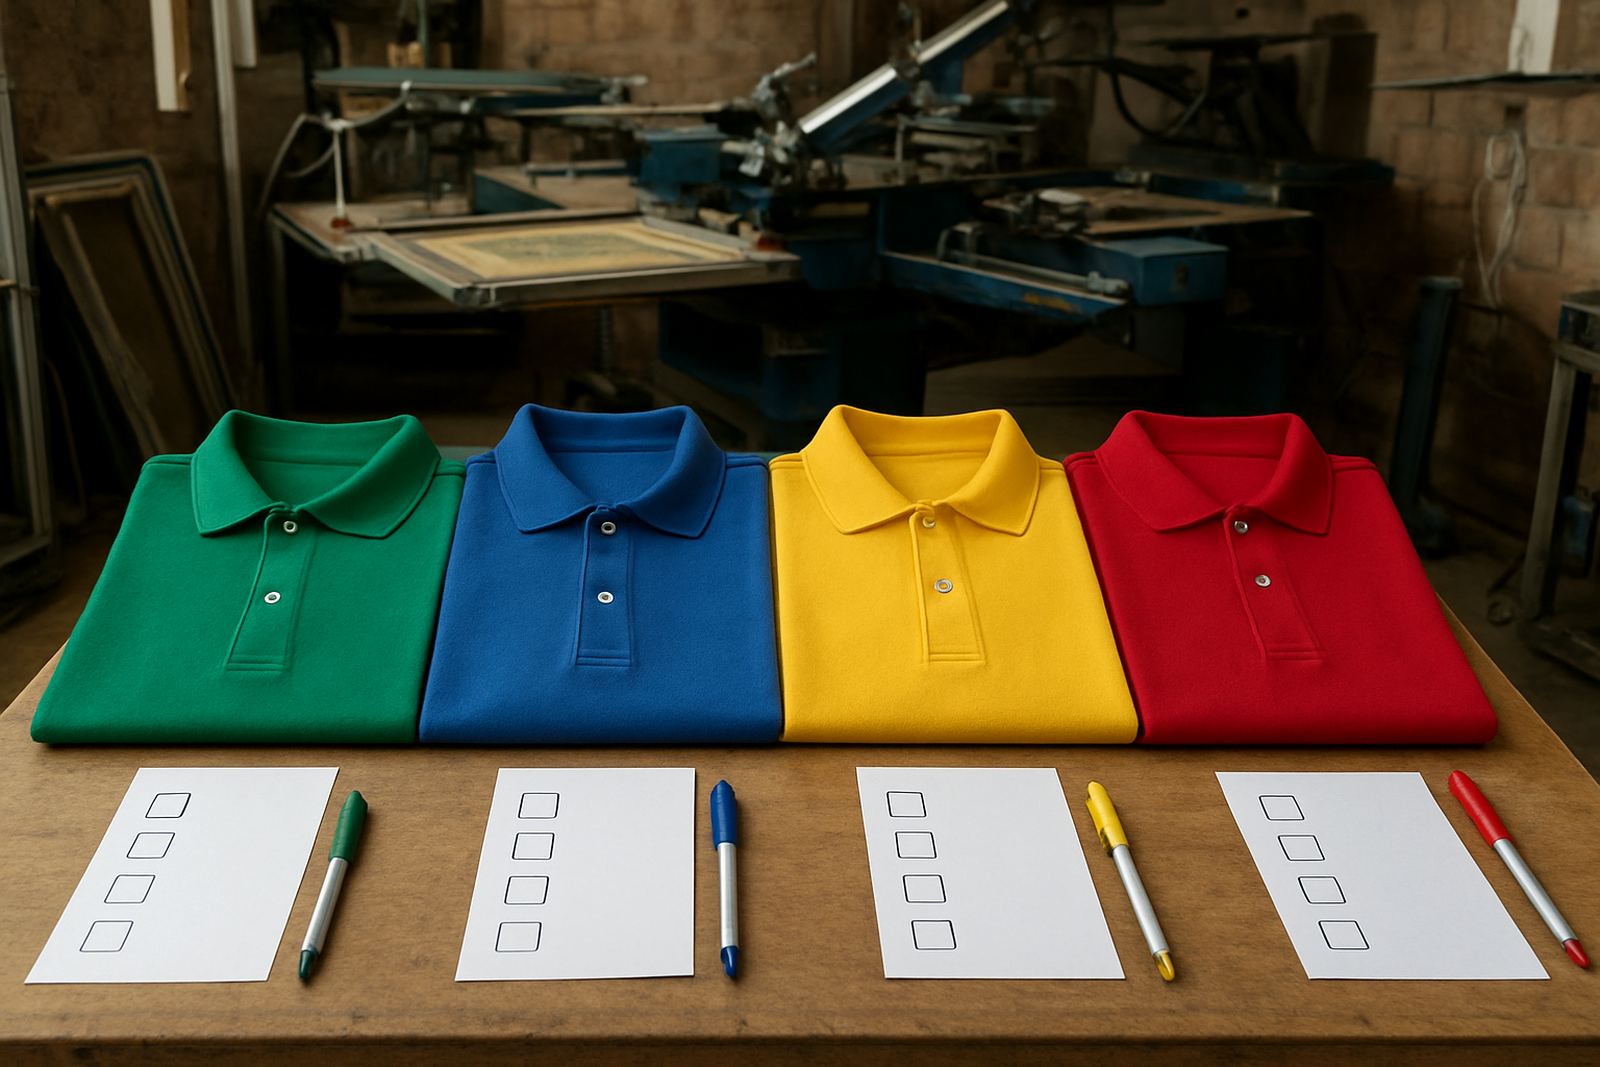
If you are not sure where the print should go, use this short checklist before sending your enquiry through. A few simple answers help us guide the job properly and avoid guesswork. It also helps if you are ordering for different branches or delivery points, because the same design may need a slightly different layout for tees, polos and hoodies.
We support customers in Umbilo, Durban Central, Berea, Pinetown, Westville, Amanzimtoti, Ballito and Pietermaritzburg with courier delivery nationwide. Whether the order is for a small club run or a larger school issue, the process is the same: choose the garment, confirm the position, send the artwork, and check the proof before production. Clear instructions at the start save a lot of back and forth later.
- What garment are you printing on?
- Do you want chest, full front, back or sleeve placement?
- Is the artwork for one side or both sides?
- Will the print need names, numbers or sponsor details?
- Are there size ranges, kids sizes or different cuts in the order?
If you need help choosing, our team can look at the artwork and suggest the most suitable position for the job. That way the print looks right on the garment, not just on paper.